Adding a contact form to a static site using Netlify Functions
That you can spice up a static site with dynamic functionality using so-called serverless functions is not that new anymore. Many have probably first learned about them through AWS Lambda functions. But they are not tied to any specific cloud provider:
Conventionally, serverless functions are single-purpose, programmatic functions that are hosted on managed infrastructure. These functions, which are invoked through the Internet, are hosted and maintained by cloud computing companies.
If you are hosting any of your projects on Netlify, you can use their offering which is simply called functions. One interesting bit here is that they are actually AWS Lambda functions:
Netlify lets you deploy serverless Lambda functions without an AWS account, and with function management handled directly within Netlify. Your serverless functions are version-controlled, built, and deployed along with the rest of your Netlify site, and we will automatically handle service discovery through our built-in API gateway.
In other words, Netlify abstracts some of the complexity around AWS Lambda away for you, and thus makes it very easy to get started with serverless functions. Also, their free tier is pretty generous.
Setup
For this post, I’m assuming you have a running Gatsby site hosted on Netlify to which you want to add a contact form. This implies that you are familiar with React, particularly with functional components and hooks, and also Yarn.
I’m going to explain how to set up Sendgrid as the service provider and create a serverless function that is calling their API when your contact form is submitted.
If you are using a different static site generator and/or another transactional email service (Mailgun, Mailjet, etc.), this post should still help you with understanding how to create a contact form using Netlify functions.
Signing up for Sendgrid
If you don’t have one already, you need to create a Sendgrid account. Their free plan currently allows you to send 40,000 emails during the first 30 days. After this period you can still send 100 emails per day “forever”. This should be more than enough for running a contact form on a small private site.
Just go to https://signup.sendgrid.com/ and follow the instructions.
Sendgrid Web API
What allows us to send our contact form using a serverless function is Sendgrid’s Web API. It supports several programming languages, including the one we want: Node.js. You can directly navigate to https://app.sendgrid.com/guide/integrate/langs/nodejs which outlines the process for using the API with Node.js:
- Make sure you have Node.js installed
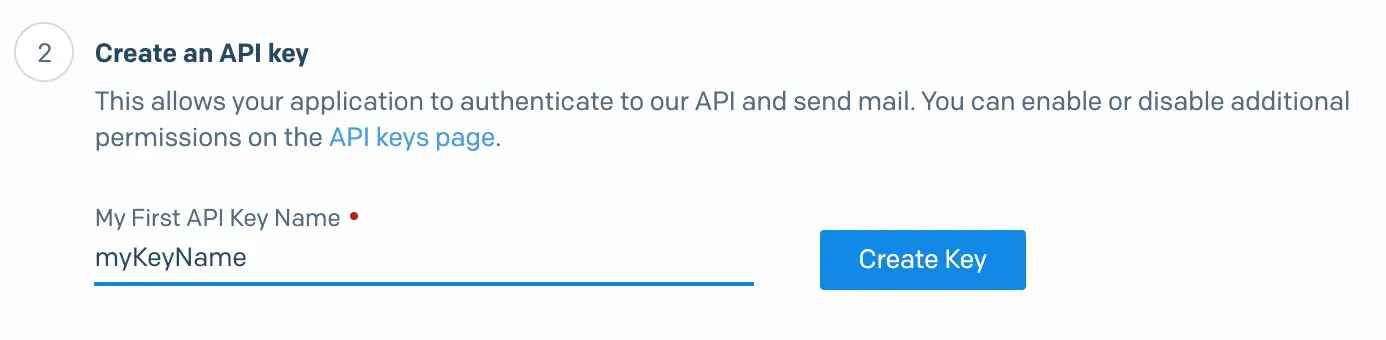
- Create an API key
- Create an environment variable
- Install the package
- Send your first email
I’m assuming you already have Node.js installed. So, as a first step you have to enter a name for your API key. That name is not overly important, simply choose something that makes sense to you. Once you did that, hit the Create Key button.
Now, the next step says you should create an environment variable for the key. But we’re gonna come back to that later and instead continue with installing the Sendgrid npm package.
Inside your project folder run:
yarn add @sendgrid/mailThe final step contains the code for sending a message to their API using that npm package. It’s pretty simple:
// using Twilio SendGrid's v3 Node.js Library
// https://github.com/sendgrid/sendgrid-nodejs
const sgMail = require("@sendgrid/mail");
sgMail.setApiKey(process.env.SENDGRID_API_KEY);
const msg = {
  to: "test@example.com",
  from: "test@example.com",
  subject: "Sending with Twilio SendGrid is Fun",
  text: "and easy to do anywhere, even with Node.js",
  html: "<strong>and easy to do anywhere, even with Node.js</strong>",
};
sgMail.send(msg);
But before we can actually make our first call, we have to do a few more things.
Installing Netlify CLI
When I was looking for information on how to add a contact form to my Gatsby site on Netfliy, I only found solutions involving netlify-lambda. But if you don’t need a build-step for your function, like when you are using TypeScript, then you can achieve the same in a simpler way using Netlify Dev. More about the differences between these two tools can be found in the netlify-lambda docs.
Since Netlify Dev comes as part of Netfliy CLI, you have to install it globally first:
yarn global add netlify-cliYou can also do this using Homebrew, if you’re on a Mac:
brew install netlify-cliCreating evironment variables in Netlify
Especially if you commit your code into a public repo, you don’t want your API key to be visible there. A common way to keep confidential information out of your code is to store it in environment variables.
Environment variables are variables external to our application which reside in the OS or the container of the app is running in. An environment variable is simply a name mapped to a value.
First, we’re gonna store them directly in Netlify, which is the production environment.
When you are logged in to Netlify, go to Settings > Build & Deploy > Environment.
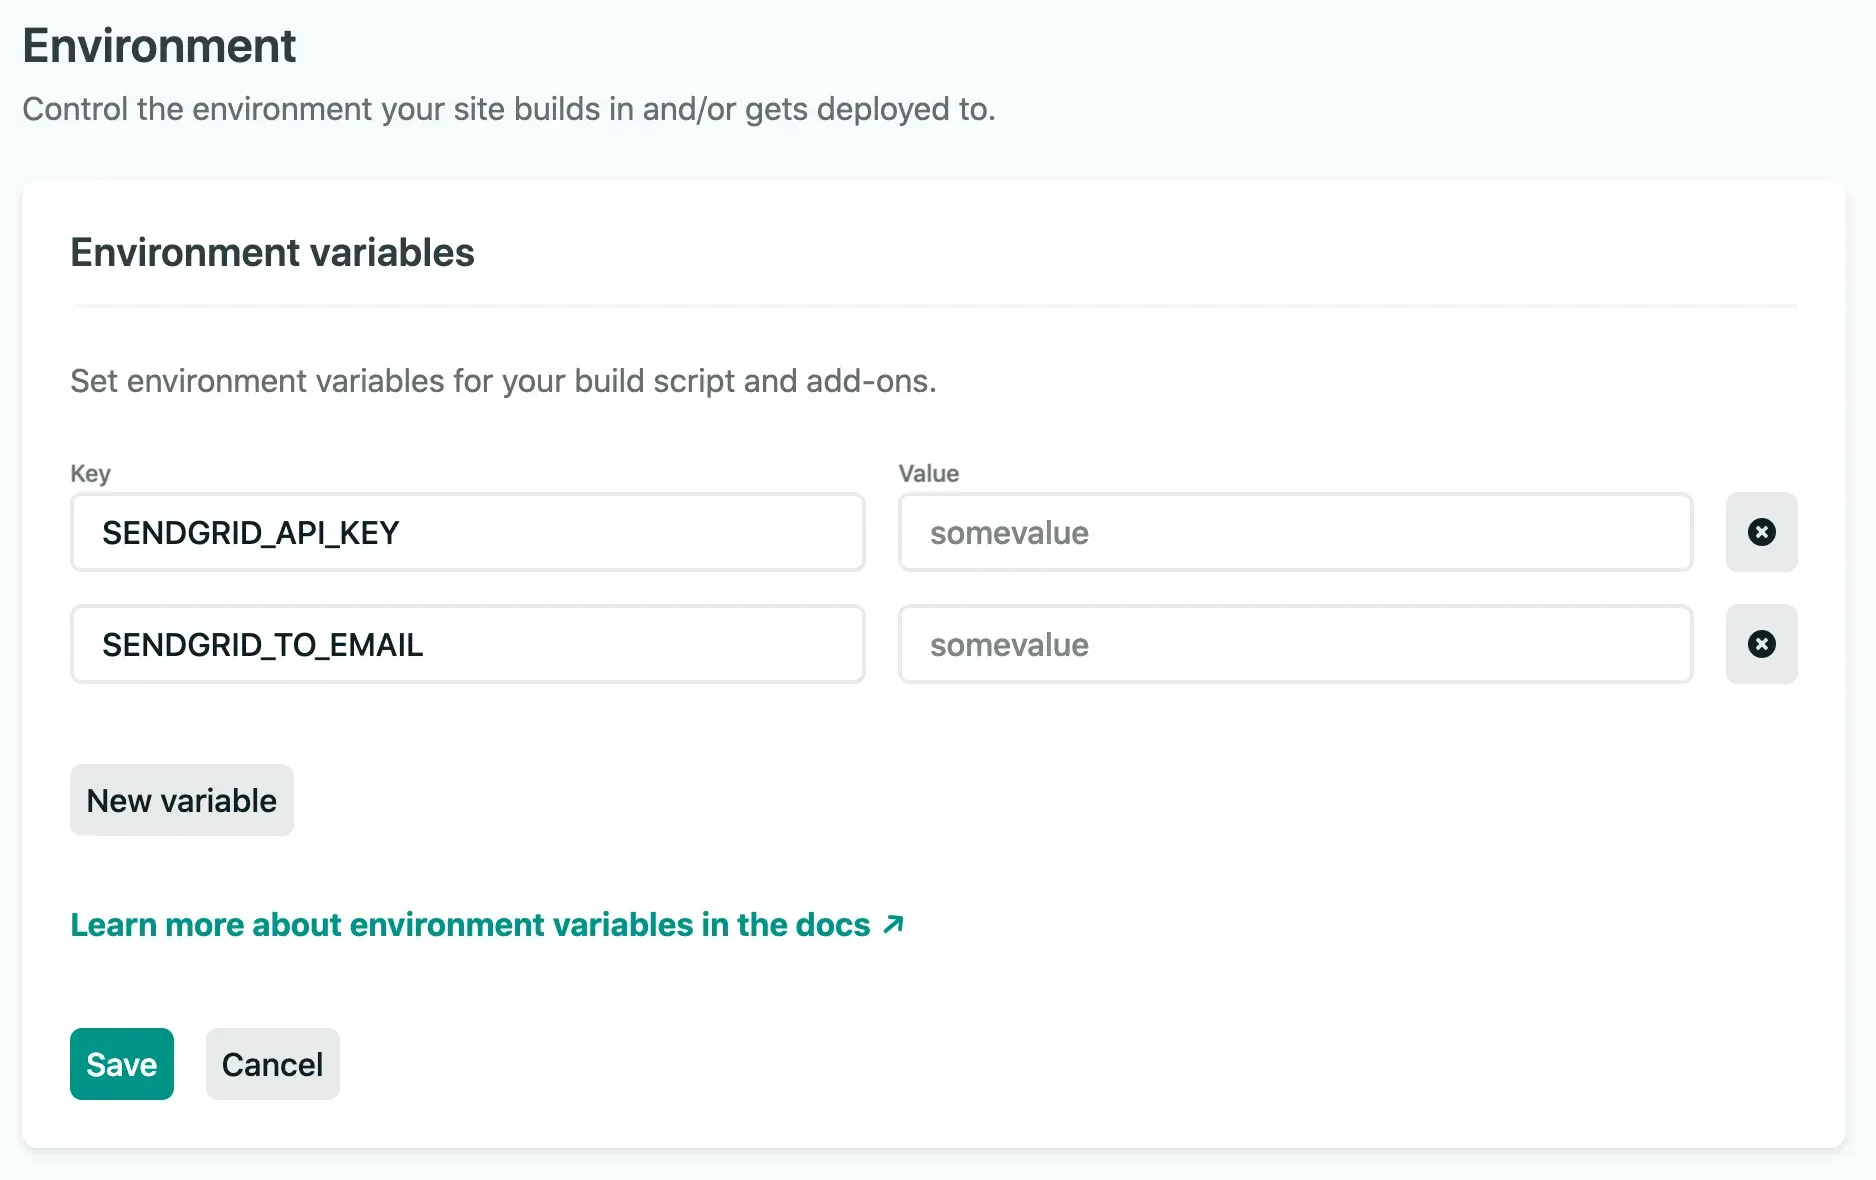
We have to add two variables: SENDGRID_API_KEY and SENDGRID_TO_EMAIL.
Add the API key you generated earlier as the value of SENDGRID_API_KEY, and the email address to which the messages from the contact form should be delivered as the value of SENDGRID_TO_EMAIL. Don’t forget to save.
Making the environment variables available locally
To test our code while developing, we also need to make the environment variables available locally. In Gatsby we can do this by creating a .env.development file. It contains the same keys and values you put into Netfliy:
SENDGRID_API_KEY="your_api_key"
SENDGRID_TO_EMAIL="your_email@provider.com"
You’re gonna see how these are being accessed in the code of the function, which we are going to create next.
Adding the serverless function
Now you have to create a new folder inside your src folder, where the serverless function(s) are going to live. I named mine functions, but it can be chosen freely. The latter also goes for the name of the file that holds your function.
Here is the complete code:
const envConfig = require("dotenv").config({
  path: `.env.${process.env.NODE_ENV}`,
});
const sgMail = require("@sendgrid/mail");
const { SENDGRID_API_KEY, SENDGRID_TO_EMAIL } = process.env;

exports.handler = async event => {
  const payload = JSON.parse(event.body);
  const { email, message } = payload;

  sgMail.setApiKey(SENDGRID_API_KEY);

  const msg = {
    to: SENDGRID_TO_EMAIL,
    from: email,
    subject: `New message from yourdomain.com`,
    text: message,
  };

  try {
    await sgMail.send(msg);

    return {
      statusCode: 202,
      body: "Message sent",
    };
  } catch (error) {
    const statusCode = typeof error.code === "number" ? error.code : 500;

    return {
      statusCode,
      body: error.message,
    };
  }
};
Gatsby comes with a package called dotenv that loads environment variables into Node’s process.env, which is “an object containing the user environment”. So if you don’t use Gatsby, you might have to install it first.
Accordingly, the first line of code uses dotenv to load the .env.development file we created earlier:
const envConfig = require("dotenv").config({
  path: `.env.${process.env.NODE_ENV}`,
});
After doing so, our environment variables are available as properties on process.env:
const { SENDGRID_API_KEY, SENDGRID_TO_EMAIL } = process.env;Exporting a handler method is a convention for Netlify functions. The one I defined is asynchronous. This is so that we can await the result of the call to Sendgrid, which returns a Promise. The method will be provided three arguments:
Netlify provides the event and context parameters when the serverless function is invoked. You provide the callback parameter, which is optional, but recommended.
We only really need the event parameter though, which provides us with the email and message entered into the contact form:
const payload = JSON.parse(event.body);
const { email, message } = payload;
Apart from that, the function basically just contains the code we saw in Sendgrid earlier, combined with a try/catch block for handling success and error cases when calling their API. In either case, an object with a statusCode and body property is returned for use in the contact form.
Configuring Netlify
To make Netlify aware of any functions existing in your codebase, you can either use the Netlify UI or the file-based configuration. The latter works by placing a netlify.toml config file at the root of your project, which is what I’m going to do here. In our case the content is very simple:
[build]
  command = "yarn build"
  functions = "src/functions/"
  publish = "public/"
command tells Netlify which command to use for running the build.
functions contains the path to the functions folder that you created earlier. If you chose something else than functions, you have to adapt the path accordingly.
publish specifies where the output of the build process is supposed to be placed. For a Gatsby site, this is typically the public folder.
Creating the contact form
With the function and configuration in place, we can now add the contact form. I placed it inside src > components > ContactForm.js:
export const ContactForm = () => {
  const [isPosting, setIsPosting] = useState(false);
  const [postingError, setPostingError] = useState(false);
  const [postingSuccess, setPostingSuccess] = useState(false);
  const emailEl = createRef();
  const messageEl = createRef();
  const postMail = async () => {
    const email = emailEl.current.value;
    const message = messageEl.current.value;

    setIsPosting(true);

    try {
      const res = await fetch("/.netlify/functions/sendmail", {
        method: "POST",
        headers: {
          "Content-Type": "application/json",
        },
        body: JSON.stringify({
          email,
          message,
        }),
      });

      if (!res.ok) {
        setPostingError(true);
      } else {
        setPostingSuccess(true);
      }
    } catch (e) {
      setPostingError(true);
    } finally {
      setIsPosting(false);
    }
  };

  const handleSubmit = e => {
    e.preventDefault();

    postMail();
  };

  return (
    <>
      {postingSuccess ? (
        <SuccessMessage>Message sent. Thank you!</SuccessMessage>
      ) : (
        <form method="post" onSubmit={handleSubmit}>
          <Fieldset>
            <Legend>Contact form</Legend>
            <Label htmlFor="email">Your email address*</Label>
            <Input
              type="email"
              aria-label="Your email address"
              name="email"
              id="email"
              placeholder="Email address"
              ref={emailEl}
              disabled={isPosting ? "disabled" : undefined}
              required
            />
            <Label htmlFor="message">Your message*</Label>
            <Textarea
              ref={messageEl}
              id="message"
              aria-label="Your message"
              placeholder="Message"
              disabled={isPosting ? "disabled" : undefined}
              rows="5"
              required
            />
            <Button disabled={isPosting ? "disabled" : undefined}>Send</Button>
          </Fieldset>
        </form>
      )}
      {postingError ? (
        <ErrorMessage>
          Something went wrong, please try again (later).
        </ErrorMessage>
      ) : null}
    </>
  );
};
This creates a simple mail form with an email and message field defined as uncontrolled components. I’m not going to go into the specifics of the React code here as that’s not the point of this post.
The important bit is that when the form is submitted, the postMail function gets called inside the event handler, which makes a fetch call to '/.netlify/functions/sendmail'. This path adheres to the following pattern:
https://[YOUR_URL]/.netlify/[FUNCTION_FOLDER]/[FUNCTION_NAME]This is of course going to trigger our function and, given that there is no error, send the data from the contact form to Sengrid, which in turn will process and send it to the email address defined in SENDGRID_TO_EMAIL.
Testing your contact form
Now you can test your form. Just run netlify dev inside your project folder. This is going to start a server on http://localhost:8888. If you then navigate to the page with your form, fill it out and submit, a mail should be sent to the email address you set in the SENDGRID_TO_EMAIL variable.
After you push your code and the build on Netlify is successful (if you have set up continuous deployment in Netlify, the build will start automatically after pushing), the form should also work in production.